
How to Make An Awesome Instagram Reel In 10 Steps: Your Ultimate Guide
Been thinking of diversifying your Instagram content by making Instagram Reels but don’t know where to start? We’ve got you! In this detailed and comprehensive guide, we’ll walk you through the process of making an Instagram Reel so your content can stand out.
From planning your content to learning the art of storytelling and editing, we've got you covered. Let’s dive right in and discover the secrets to crafting incredible Instagram Reels that leave a lasting impression!
Step 1: Solidify your Brand Identity
Your brand identity plays a key role in how you portray your brand online. Before diving into creating Instagram Reels, take some time to solidify your brand identity.
Define your brand's personality, values, and visual aesthetics. Consider the colours, fonts, and overall style that represent your brand best. This consistency across your Reels will help build brand recognition and establish a strong connection with your audience.
Knowing your target audience is equally important – understanding their preferences and interests will enable you to tailor your Reels to resonate with them effectively. By having a clear and well-defined brand identity, you'll be well-equipped to create Reels that not only showcase your unique offerings but also leave a lasting impression on your viewers.
Step 2: Define Your Reel's Purpose and Theme
The next step to creating a standout Instagram Reel is to define its purpose and theme. What message do you want to convey? Is it a fun dance video, a tutorial on how to use your products, a day-in-the-life vlog, or an order packing clip?
Understanding your Reel's focus will guide you through the entire creative process. For example, if the purpose of your Reel is to inform your viewers on a particular topic, make sure to organize your content in a logical and easy-to-follow manner. Consider breaking down complex information into bite-sized sentences, using clear visuals, and adding text overlays to emphasize key points.
Engage your audience with a friendly and approachable tone, encouraging them to ask questions or share their thoughts in the comments.
Step 3. Research and Get Inspired!
Before you start filming, take some time to research successful Reels within your niche. Explore accounts that inspire you and analyze what makes their Reels engaging. This will give you fresh ideas and help you put your own unique spin on the content.
Additionally, take a peek at the comments and interactions on these successful Reels. Understanding what viewers love and what sparks conversations can provide valuable insights into creating reels that resonate with your audience.
While exploring other accounts, keep in mind that inspiration should never lead to imitation. Rather than replicating someone else's content, use these insights to spark your own creativity and develop a unique approach.
Step 4: Plan Your Shots and Storyline
Now that you have your theme and inspiration, it's time to plan your shots and storyline.
Consider the sequence of clips, transitions, and any props you might need. Consider the flow and pacing of your Reel. How do you want it to flow? Are there any key moments you want to emphasize?
Plan for smooth transitions between shots to maintain viewer engagement.
If your Reel requires props or specific setups, make a list of everything you'll need. This will help ensure you're well-prepared during the filming process, avoiding unnecessary delays or disruptions.
Step 5: Prep Your Filming Space
Find a well-lit and clutter-free space for filming. Good lighting is essential for high-quality Reels, so utilize natural light whenever possible.
If needed, consider investing in affordable smartphone ring lights or softbox lights to enhance your visuals.
Don’t underestimate the power of natural lighting! It provides a soft, flattering glow that enhances the colors and details in your videos.
Before shooting your entire Reel, do a quick test run to check how the lighting looks on camera. This gives you a chance to make adjustments and ensures you're satisfied with the results.
Step 6: Set Up Your Smartphone and Camera Angles and Hit Record
Position your smartphone or camera securely to capture the best angles for your Reel. Consider using a tripod to avoid shaky footage.
Experiment with different angles to find the ones that work best for you.
Getting the right angles is crucial to capturing captivating footage for your Instagram Reel. A stable and well-positioned camera ensures that your viewers can fully immerse themselves in your content without distractions.
Once everything is in place, hit that record button!
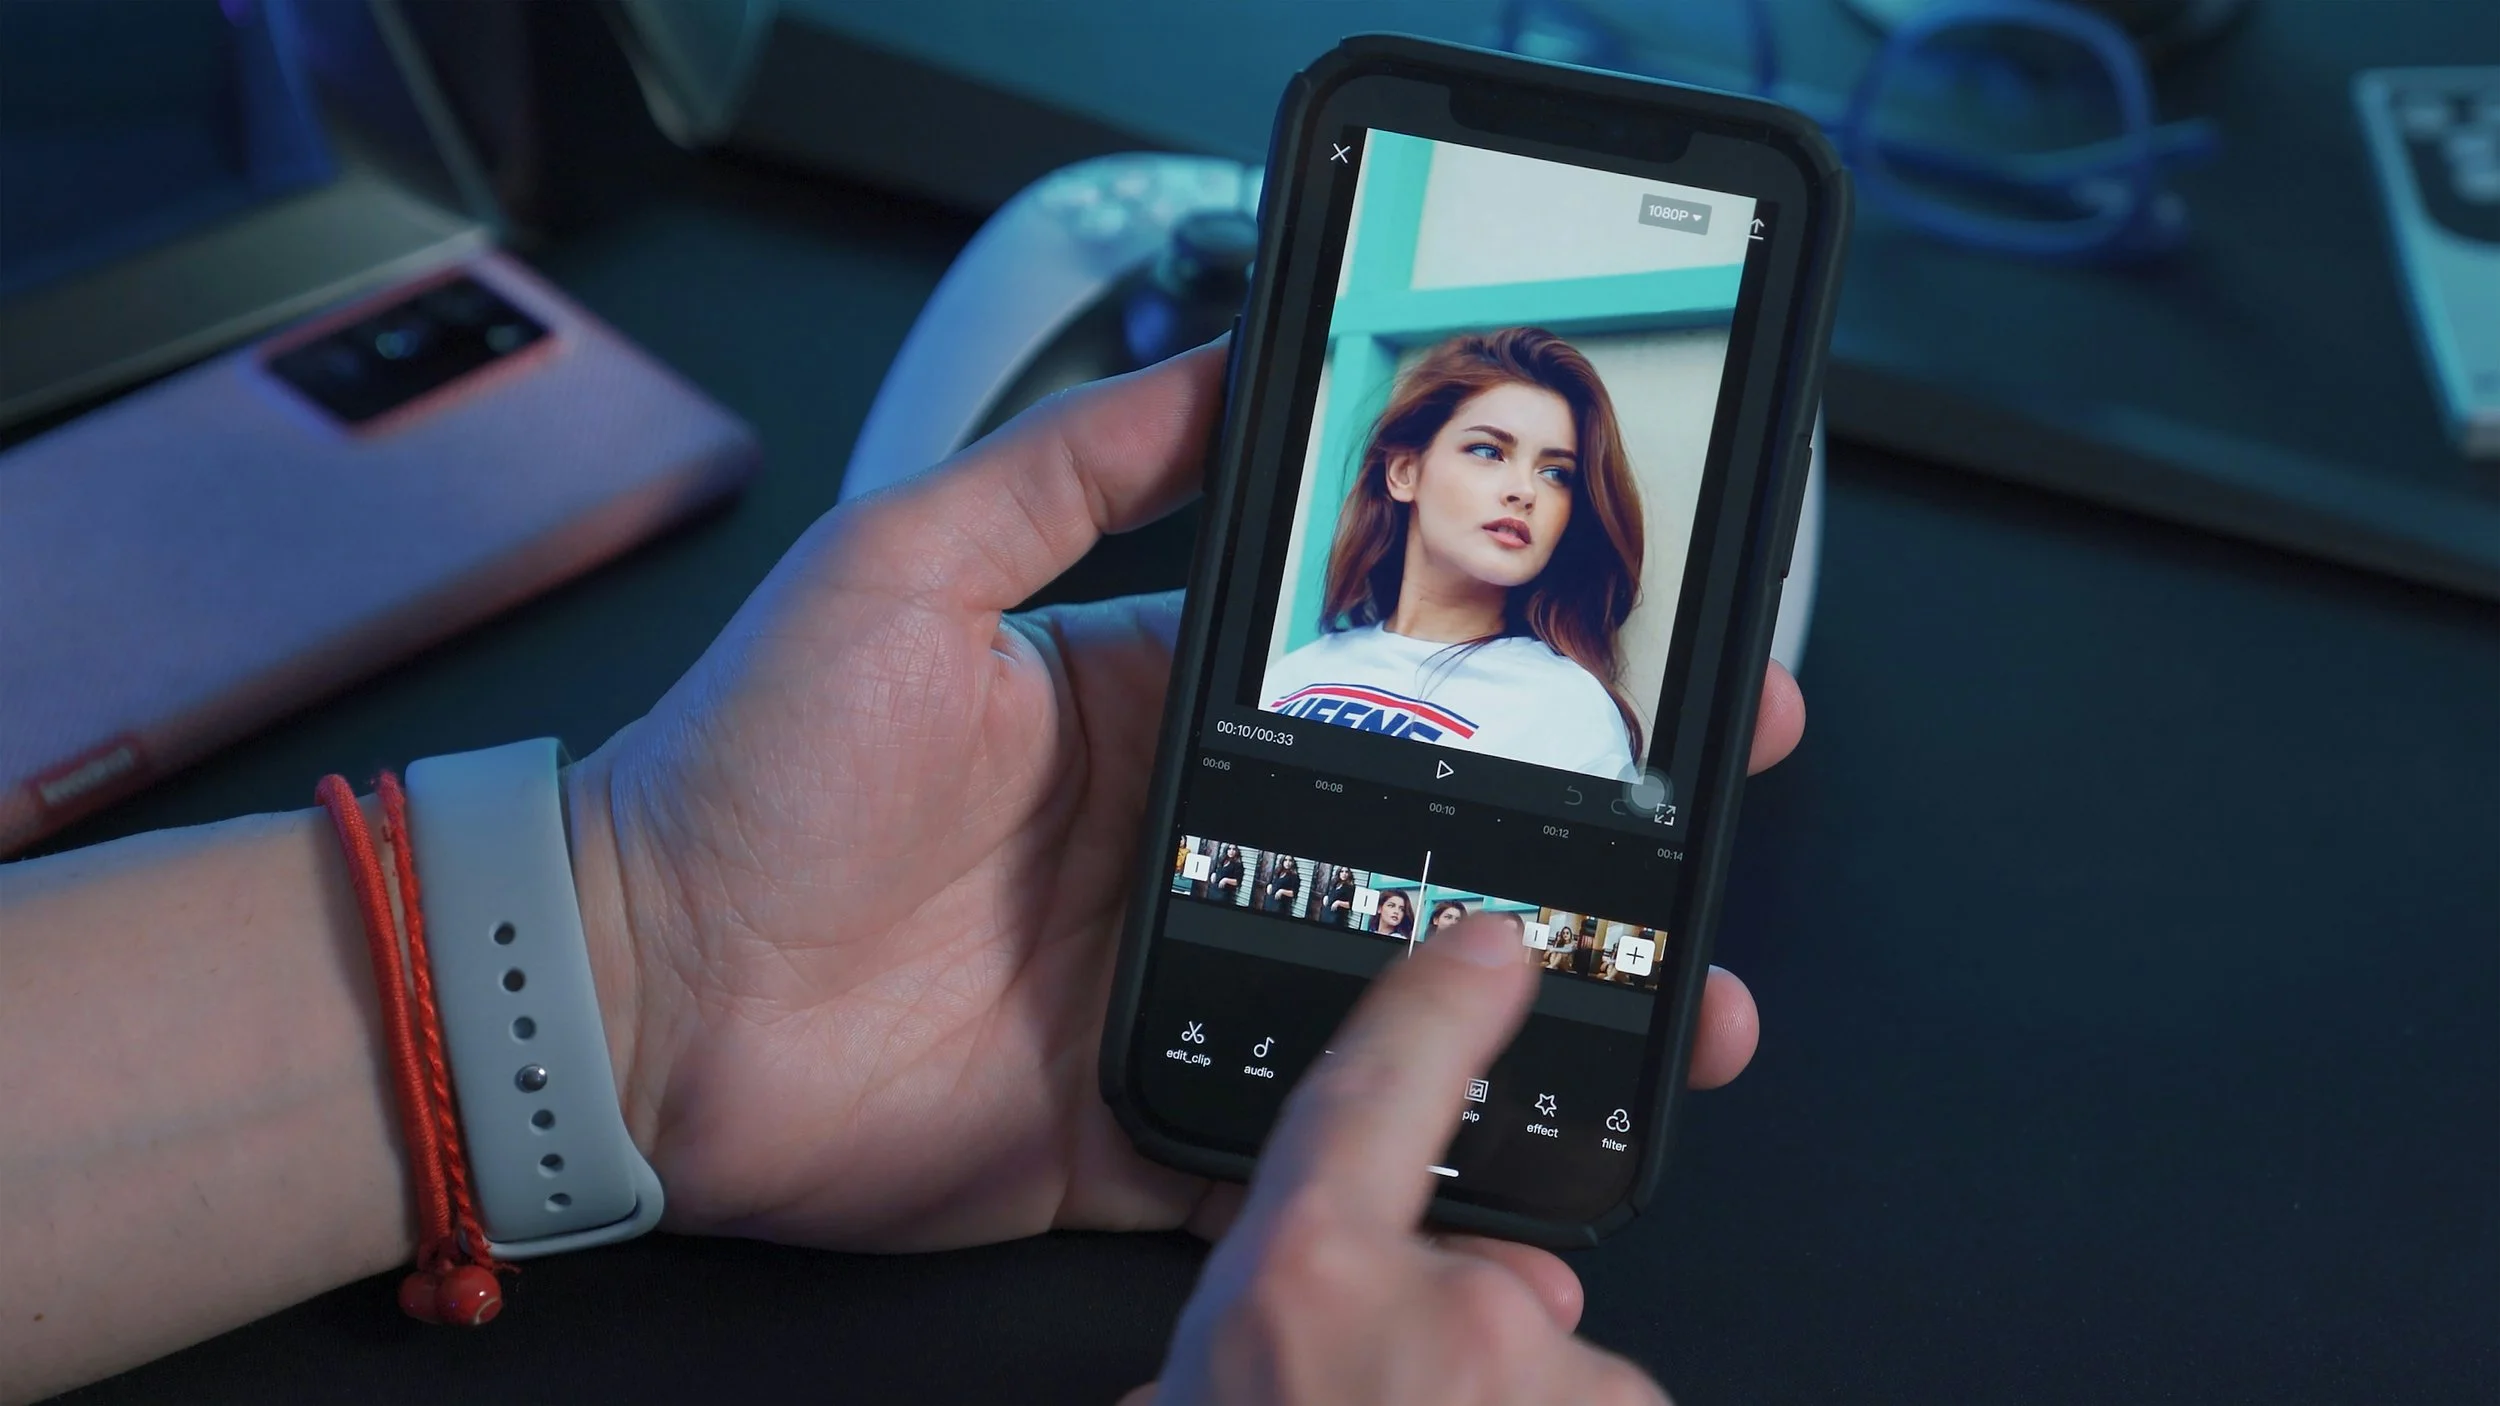
Step 7: Utilize Instagram's Reels Feature or Third Party Apps to Edit
After you’re done recording, it's time to leverage the creative features Instagram Reels offer. Use effects, and filters to spice up your Reel. Keep in mind that less is often more, so use these features tastefully to enhance your content without overwhelming your viewers.
Editing is where your Reel truly comes to life. Use editing tools within the Instagram app or third-party apps like Capcut or Canva to trim clips, adjust speed, add fun fonts or stickers and even create seamless transitions.
Step 8: Select the Perfect Soundtrack
If there is no audible dialogue or important sounds in your Reel, be sure to add some music! Adding music to your Reel actually boosts its visibility. Your reel can go viral just for using a trending sound.
To know if a sound is currently trending on Instagram, look out for a little grey arrow next to its name when you click on the sound’s thumbnail. Over there, you will also see the number of reels that use that sound which gives you an idea of how popular it is.
Instagram offers a vast library of sounds to use and it also lets you upload your own audio by opening the Reels editor, clicking “Audio” then clicking “Import”.
Step 9: Review, Refine, and Rejoice
Once your Reel is edited to your satisfaction, take a moment to review it before publishing. Make any necessary refinements, and don't be afraid to ask for feedback from friends or fellow creators. When you're confident in your creation, hit that share button!
Step 10: Engage with Your Audience
Congratulations on crafting an awesome Instagram Reel! But the journey doesn't end here. Engage with your audience by responding to comments, liking their reactions, and fostering a sense of community. This connection will build trust and loyalty among your followers.
There you have it – your ultimate guide to creating awesome Instagram Reels! Short-form video content is quickly taking over the social media world so make hay while the sun shines and have fun while doing it!
Remember, practice makes perfect so don’t be too hard on yourself if your Reels don’t come out perfect the first try!